WinSCP offers a choice of GUI interfaces for managing files. It is easy to download and install from winscp.net.
Starting the application will bring you to a login screen like the one shown here. (Highlights added.)

To start a session, input the host name and your username for that system.
Leave the password field blank, and click Login.
The first time you log in to a system, you may get a dialog box like this:

Click Yes to continue.
Next, you will be asked for your Token_Response. Follow your regular authentication procedures.

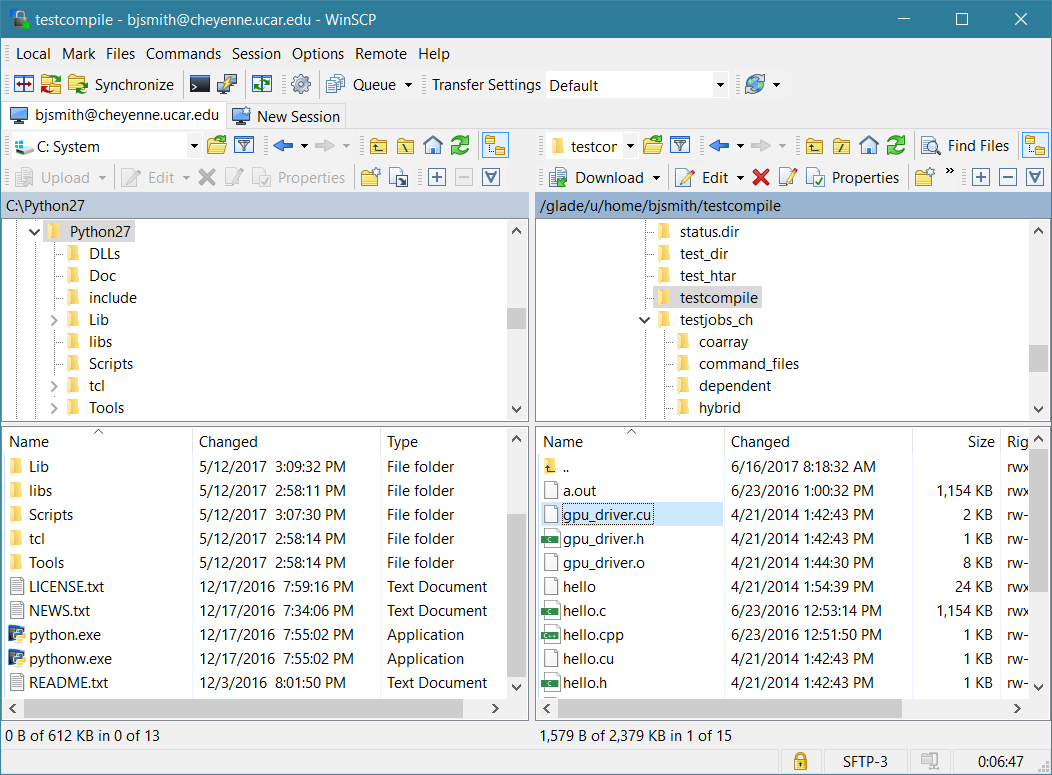
If you’re using the “Commander” interface (shown below), WinSCP will display the contents of your local system on the left side of your screen and the contents of your remote system home directory on the right. You can manage files using typical Windows commands and tools.
The alternative “Explorer” interface displays only the remote folder, and you can transfer files by dragging and dropping from Windows File Explorer. On the WinSCP menu, go to Options/Preferences/Environment/Interface to use it.